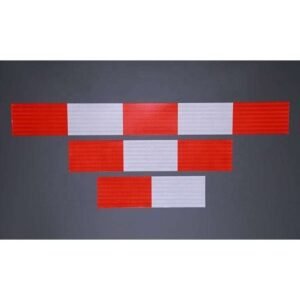
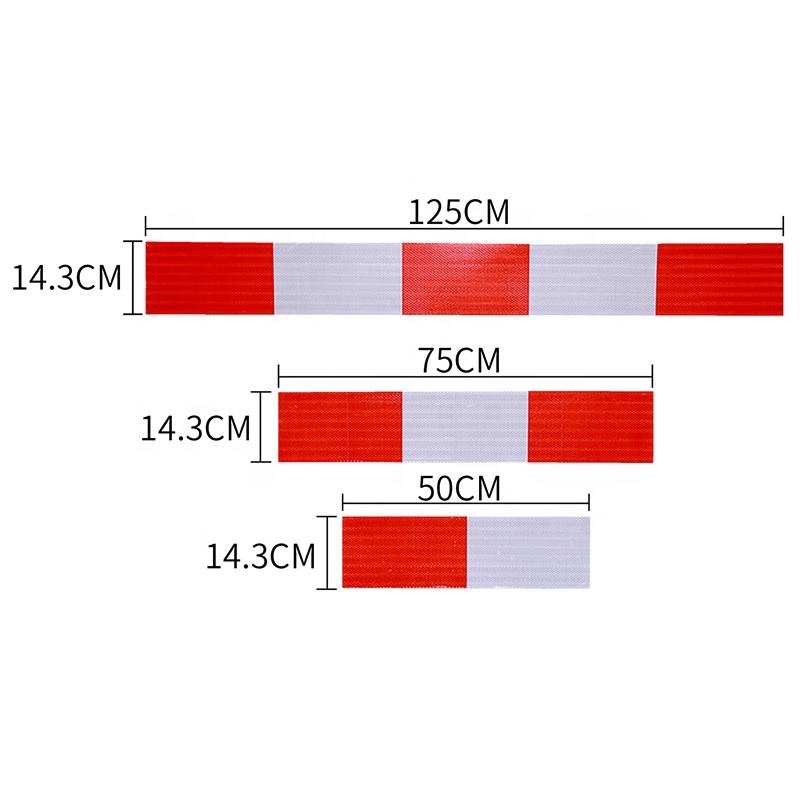
Strip Size Options
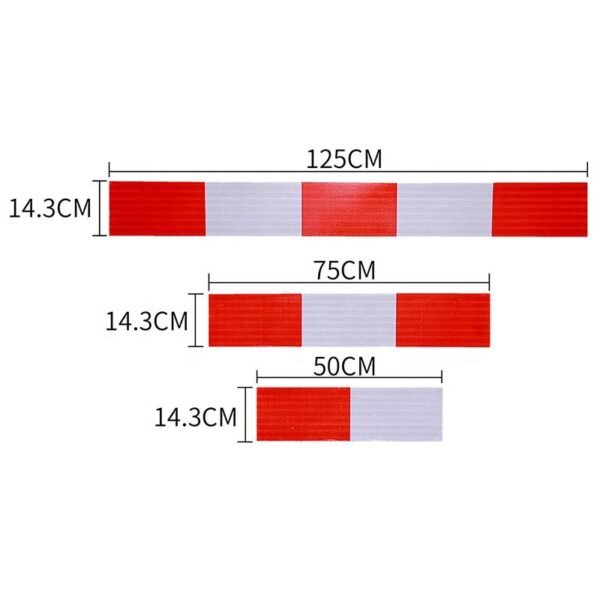
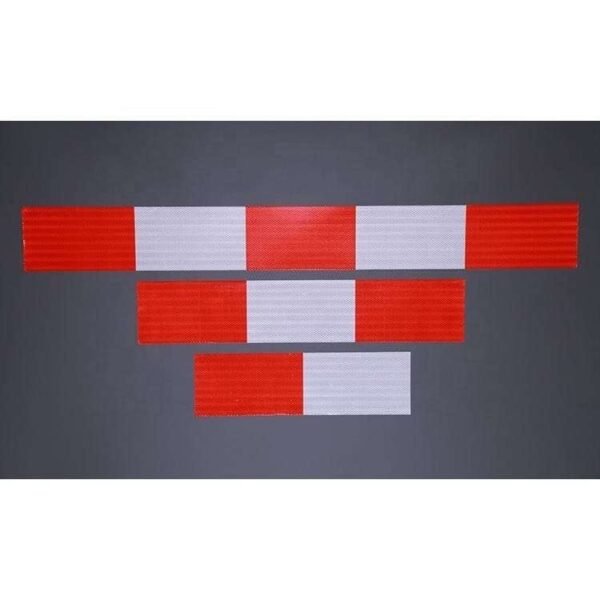
The diagram shows 14.3 cm-wide strips in several lengths. Select the size suited to your barrier or post.
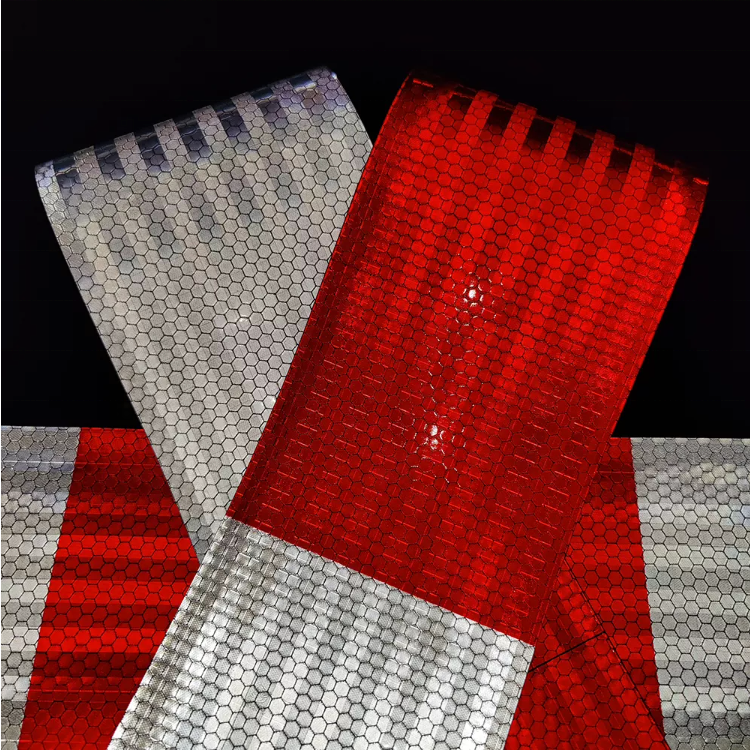
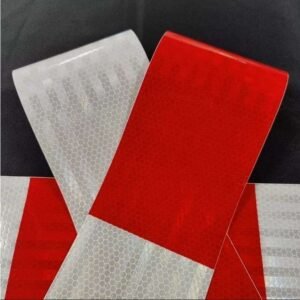
Reflective Face Detail
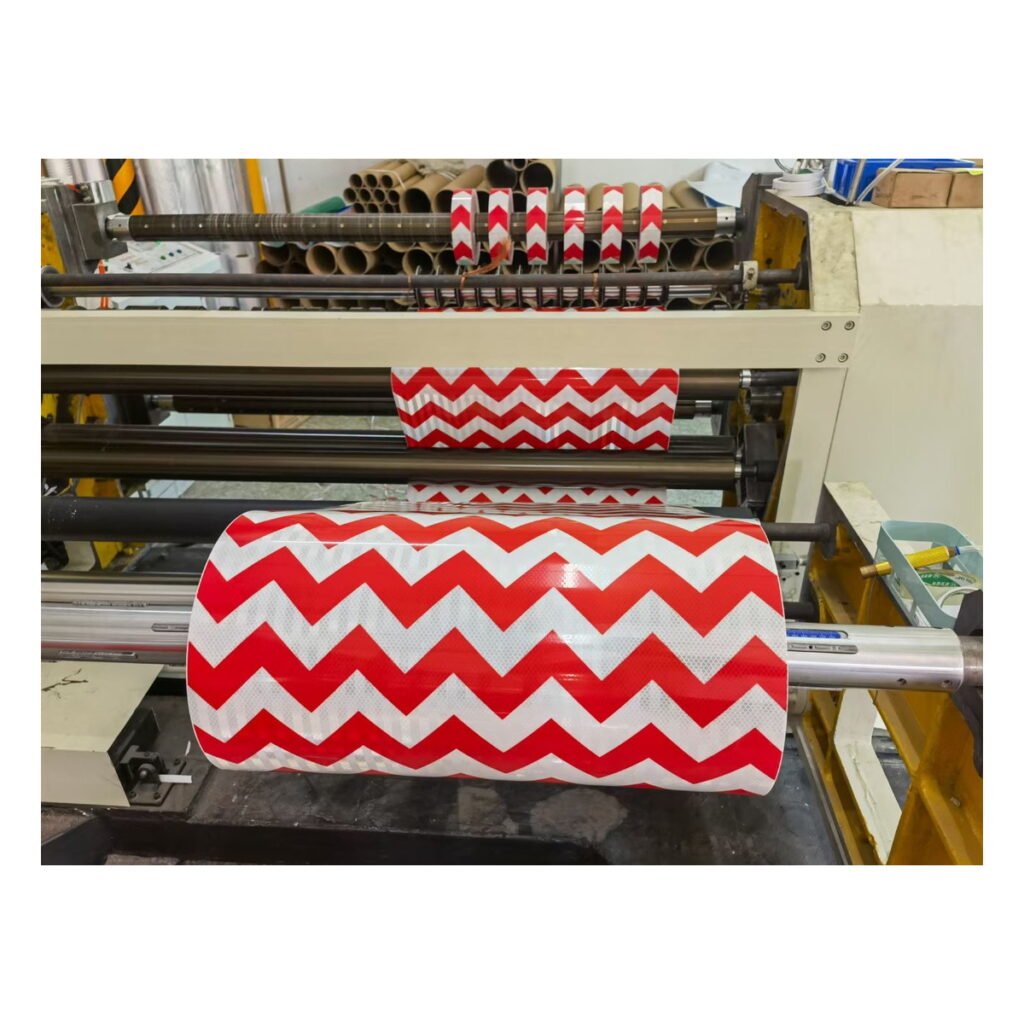
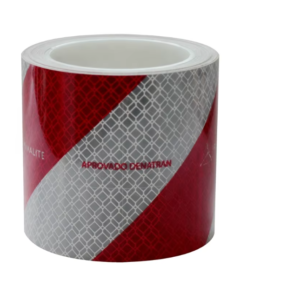
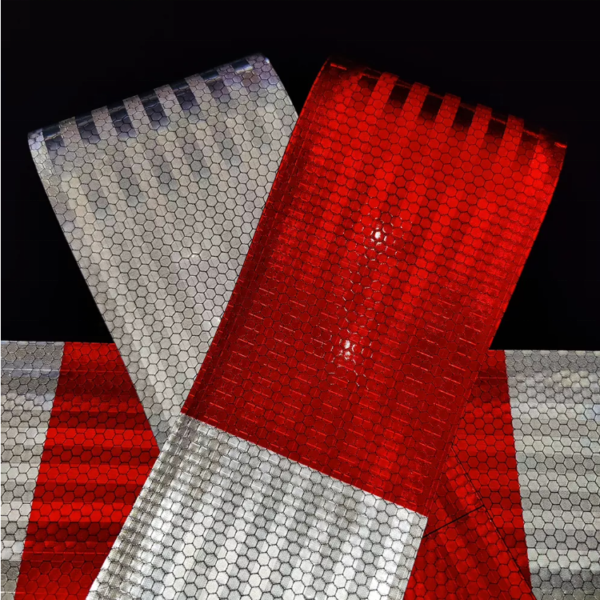
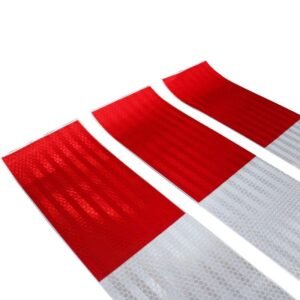
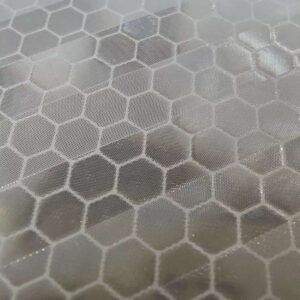
Red and white reflective surfaces are shown in close-up. Confirm substrate preparation and adhesive compatibility before installation.
Customization & Ordering
Contact Xingyuan with your required dimensions, color, quantity, application and destination country. We will confirm available options, sample arrangements, packaging and delivery.
Full-Length Strip Views
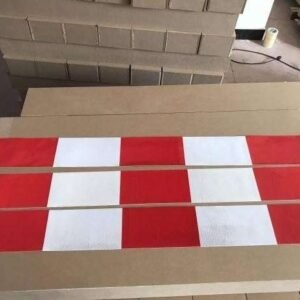
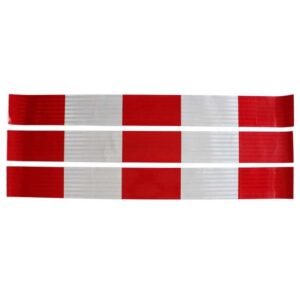
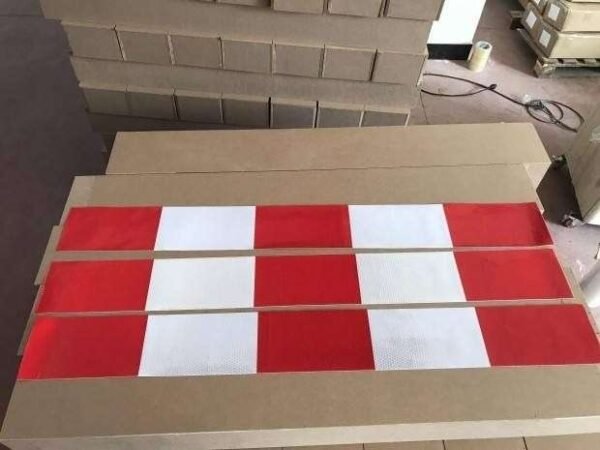
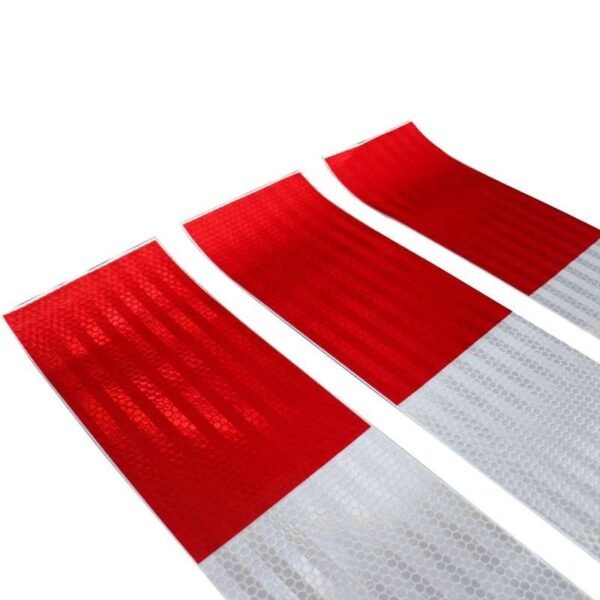
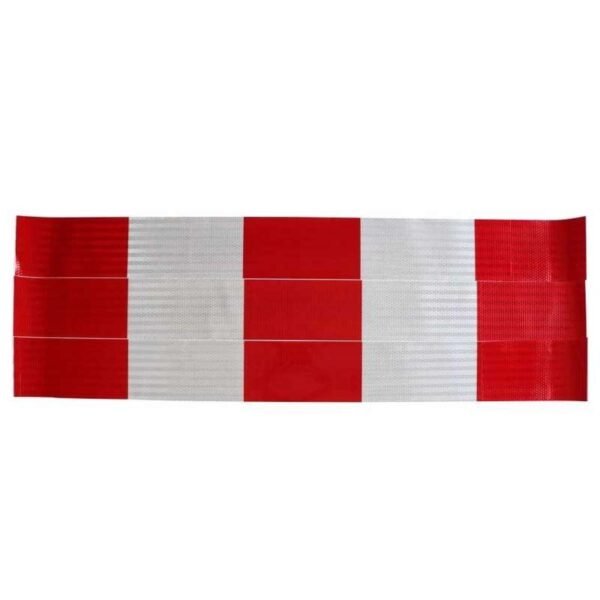
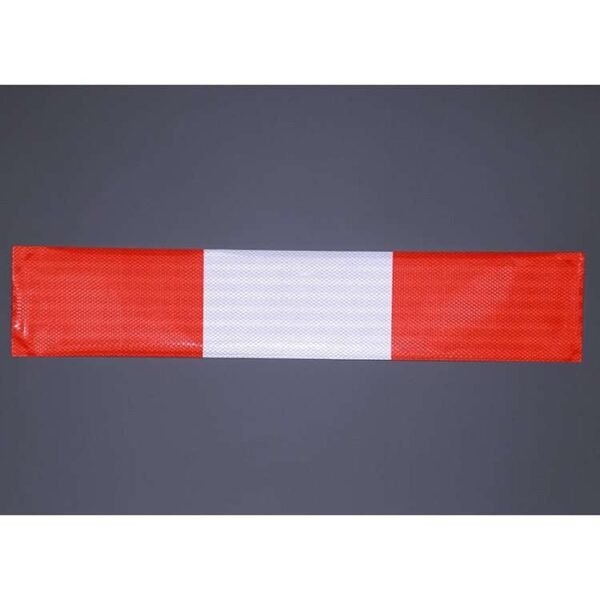
The expanded views show the alternating red and white layout across complete strips, alongside close-up views of the reflective face. The carton in the photograph is a product handling reference; packaging for your order will be confirmed separately.
Choosing a Strip Size
The illustrated strips are 14.3 cm wide, with listed lengths of 50 cm, 75 cm and 125 cm. Measure the available flat area on the fence, barrier or warning post before selecting a size. Check that the chosen length fits without covering hinges, fasteners, information labels or moving parts.
For a project using multiple strips, send the quantity required for each length and the intended layout. Confirm whether the red and white sections must align across adjacent panels. Photographs provide a visual reference; final dimensions and color-block arrangements should be agreed for the order.
Pressure-Sensitive Adhesive Application
- Check the surface. Identify the substrate and finish. Test adhesion on the actual surface, particularly on rough, curved or coated materials.
- Prepare the area. Remove dust, grease and loose contamination, then allow the surface to dry completely.
- Position the strip. Mark the intended alignment before exposing the adhesive. Peel the liner gradually and lay the strip down without stretching it.
- Press and inspect. Apply even pressure across the face and edges. Follow the application temperature and waiting time confirmed for the selected material.
A self-adhesive strip is a surface marking product. It does not replace the structural function of a fence or barrier. Select the material and placement to suit the project, and confirm any required reflective grade or local marking specification before purchase.
Project and Ordering Details
Can I mix strip lengths?
Provide a quantity breakdown for 50 cm, 75 cm and 125 cm pieces so availability and packing can be confirmed.
Can these be fitted to any post?
Compatibility depends on the surface, curvature, coating and installation conditions. A trial piece on the intended substrate is recommended before a full installation.
What information is needed for a quotation?
Send the strip size, quantity, barrier or post material, intended environment, packaging preference and destination. Include a layout drawing for special cutting or color-block requirements.
For projects with specific performance requirements, confirm the material grade, installation conditions and supporting documentation before ordering.
Barrier Placement and Flat Strip Layout
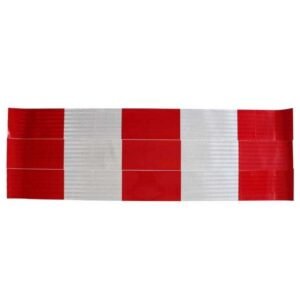
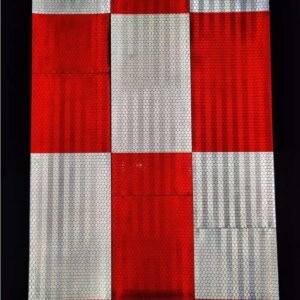
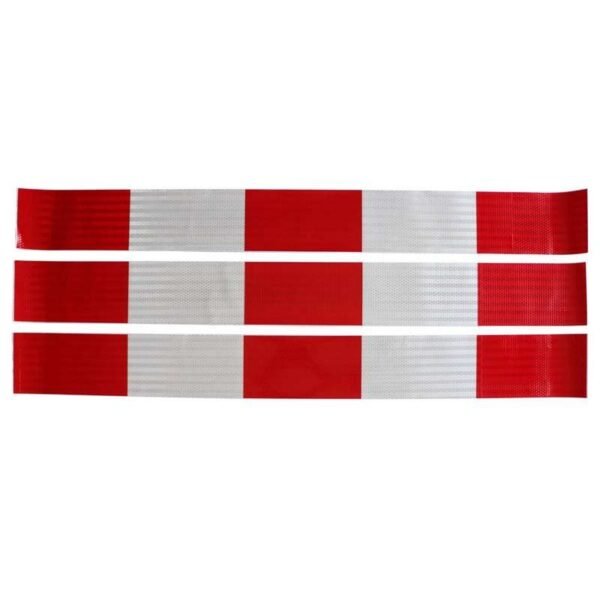
The additional flat view shows several red and white strips aligned side by side. It helps compare the alternating segment layout and the overall finish before selecting a length for a barrier panel. The arrangement in the photograph does not define the number of strips included in an order.
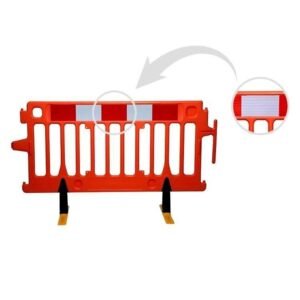
Placement on a Temporary Barrier
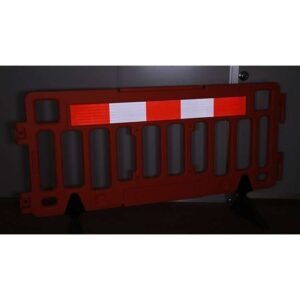
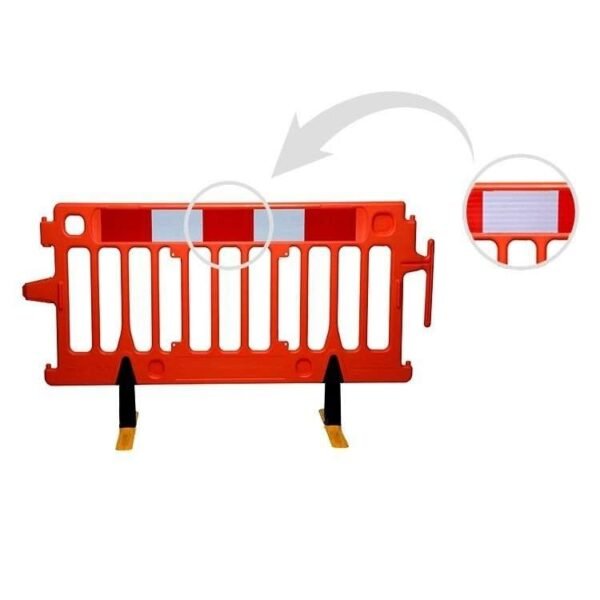
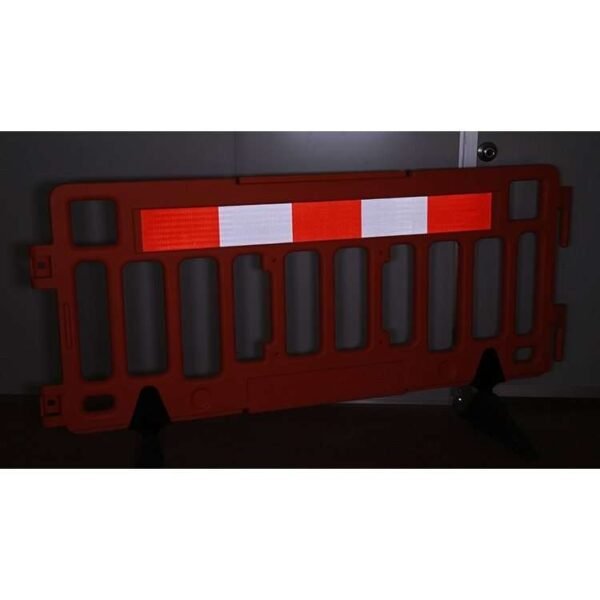
The barrier illustration shows a typical position for a reflective strip across the upper panel. The barrier itself is an application reference and is not included with the reflective material. Measure the available mounting area and confirm the strip width and length, the barrier material and the adhesive compatibility before ordering.
For replacement markings, provide the existing panel dimensions and desired red-white sequence. If the project calls for specific reflectivity or road-work requirements, include those requirements with your inquiry so the exact material and supporting documentation can be checked. Apply only to a suitable prepared surface and inspect the strip edges after installation.
Length Comparison, Backing and Installed View
These further product photographs show the red and white surface in ambient light and compare the short, medium and long strip layouts. Match the strip to the available panel area and confirm the required red-white sequence. The photographs illustrate size options, not a mixed-size pack supplied as standard.
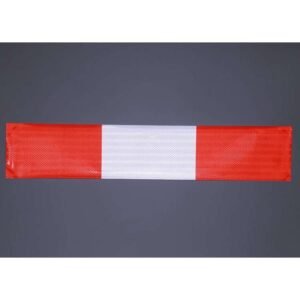
The individual strip below shows a red-white-red arrangement. Use the dimension guide above to discuss the appropriate length, then confirm the actual cut size and quantity for your barrier or post.
Release Liner Detail
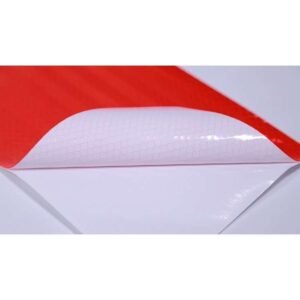
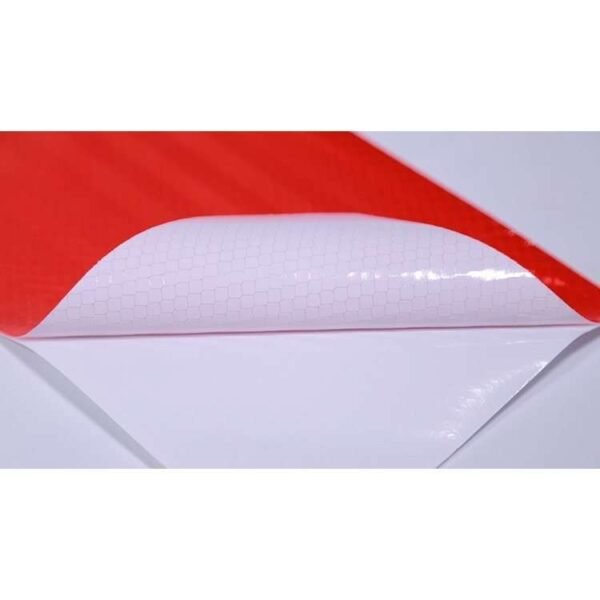
The peeled corner illustrates the separation between the reflective face and its protective backing. Confirm the adhesive specification for the intended barrier material. Keep the adhesive clean during fitting and test compatibility before applying a larger quantity.
Installed Barrier Reference
The installed example shows the strip across the top of a temporary barrier under directed light. Reflective appearance depends on the lighting and viewing angle. The photograph illustrates placement only; it does not establish a particular road-work approval or include the barrier in the sale.
Reflective Cell Pattern at Close Range
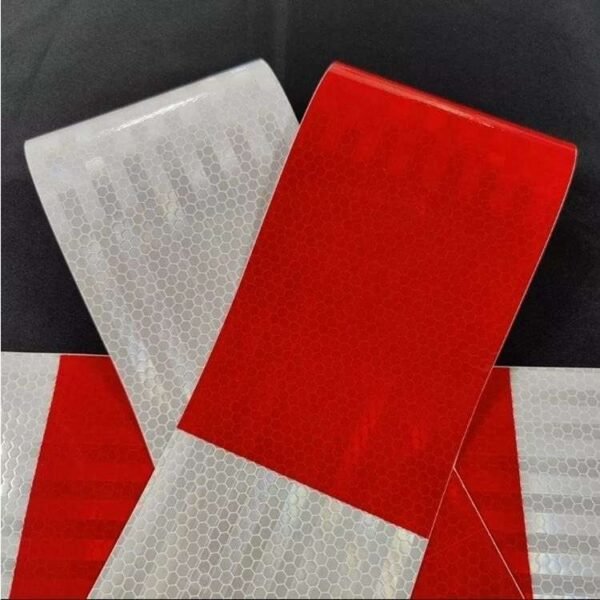
The following close-ups show the alternating red-white sections under directed light and the fine honeycomb pattern within the white reflective face. These views help compare the surface structure with an existing marking or a requested sample. They do not indicate the dimensions of an individual strip or establish a measured reflectivity value.
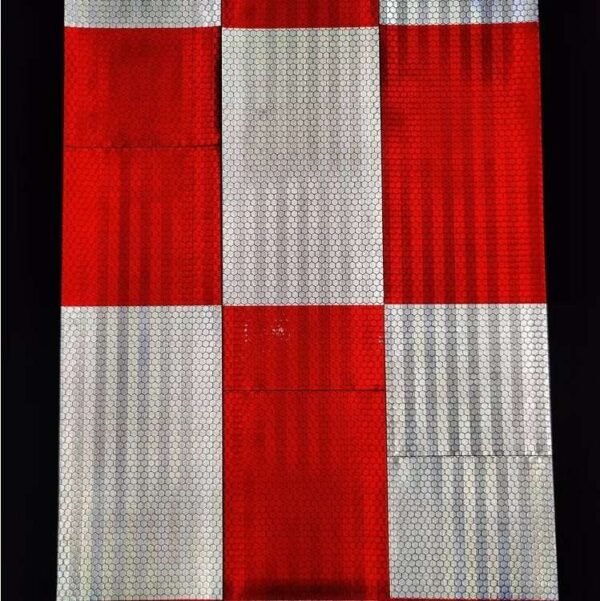
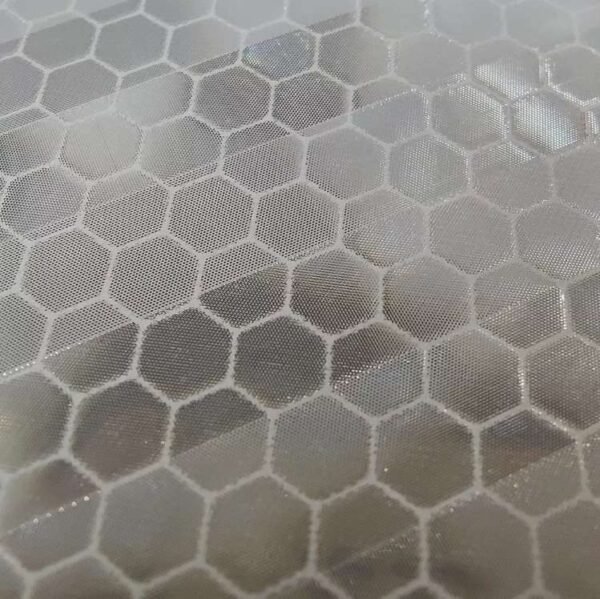
When matching a replacement, compare both the overall segment layout and the cell pattern. Send a clear photograph of the existing strip along with its width, length and application surface. The selected material grade and any required supporting documentation should be confirmed separately from the visual match.