
Directional Marking Strips
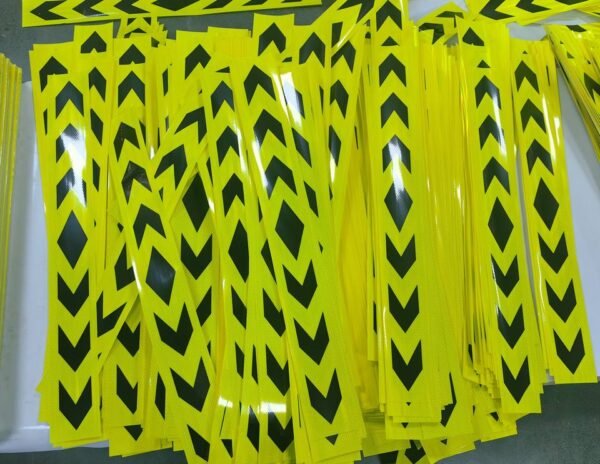
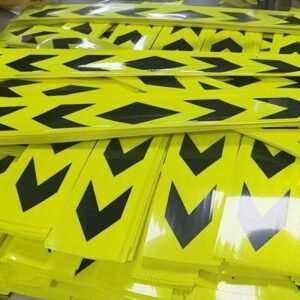
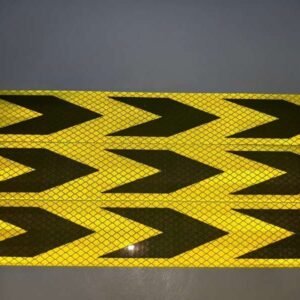
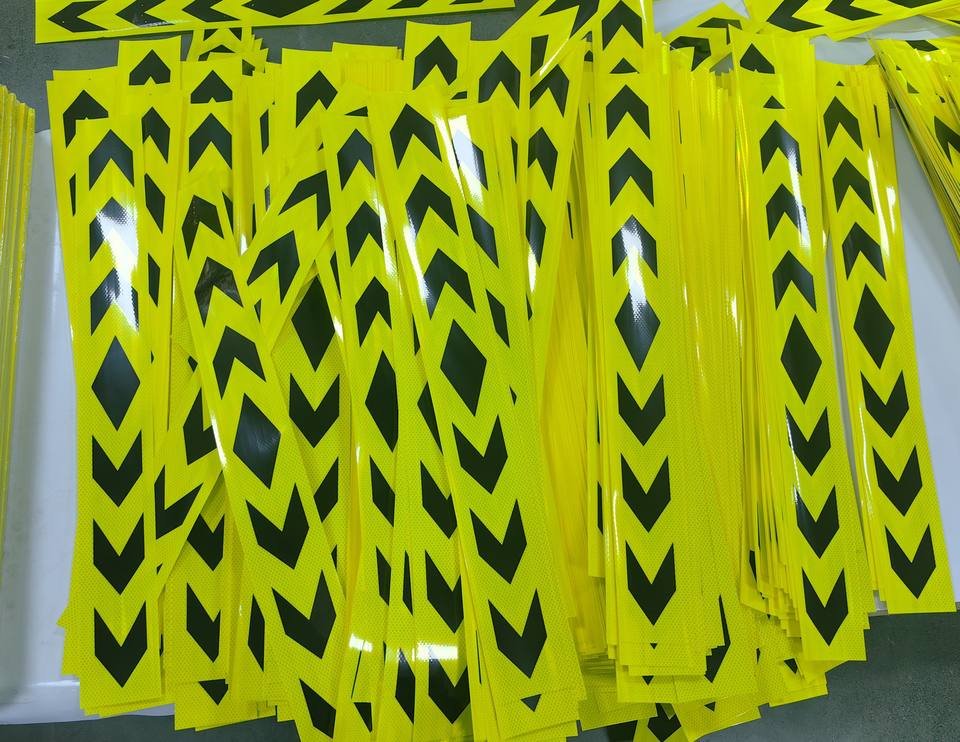
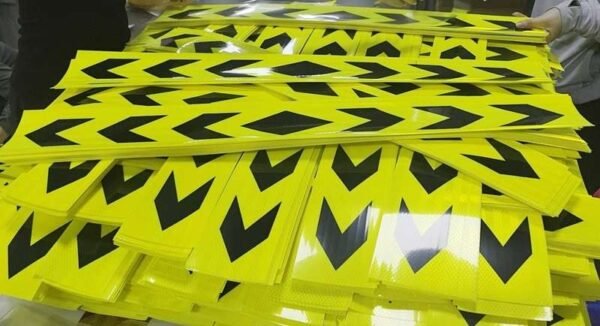
Repeated black arrows create a clear directional pattern. Specify strip width, length, arrow orientation and quantity for your layout.
Daytime and Illuminated Appearance
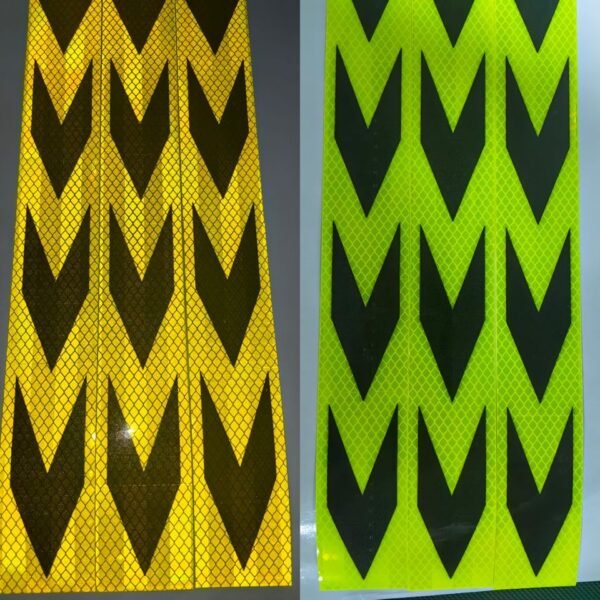
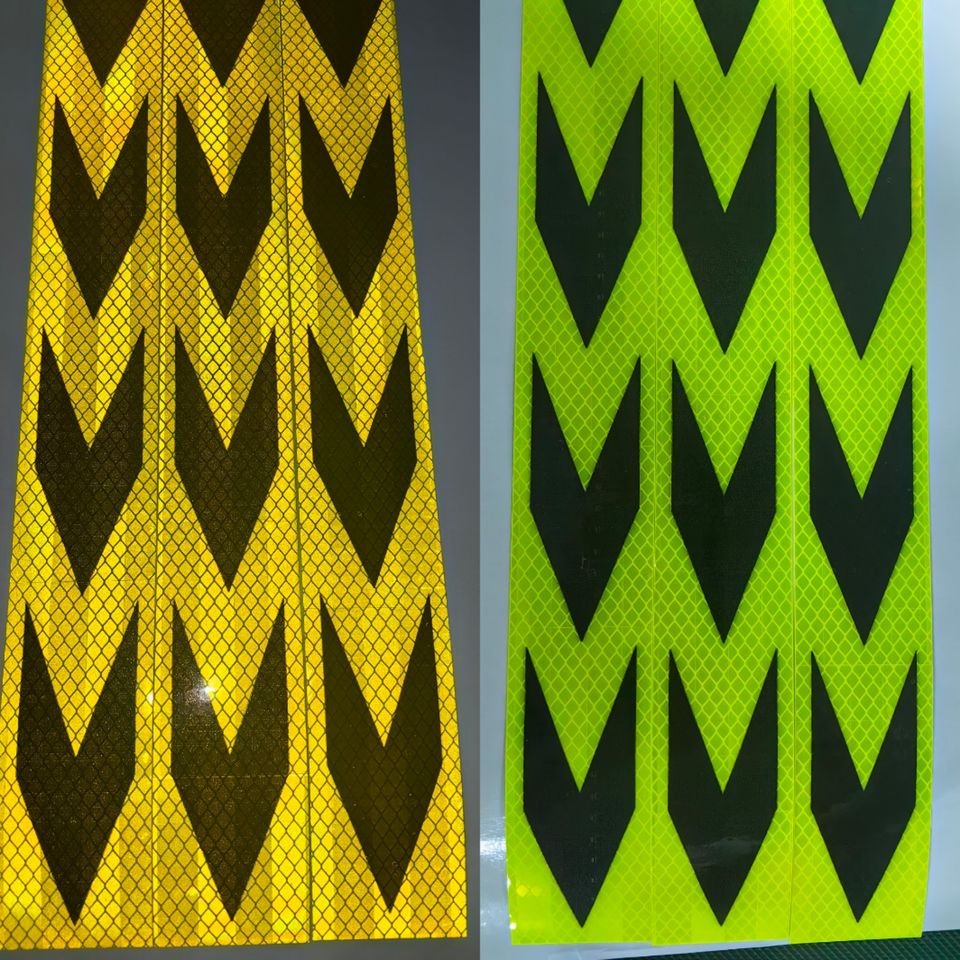
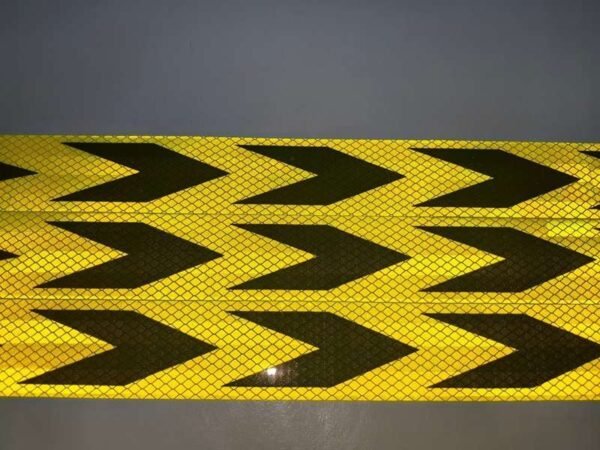
The comparison illustrates the material under different lighting. Reflection depends on the illumination and viewing angle; it is not self-emitting.
Customization & Ordering
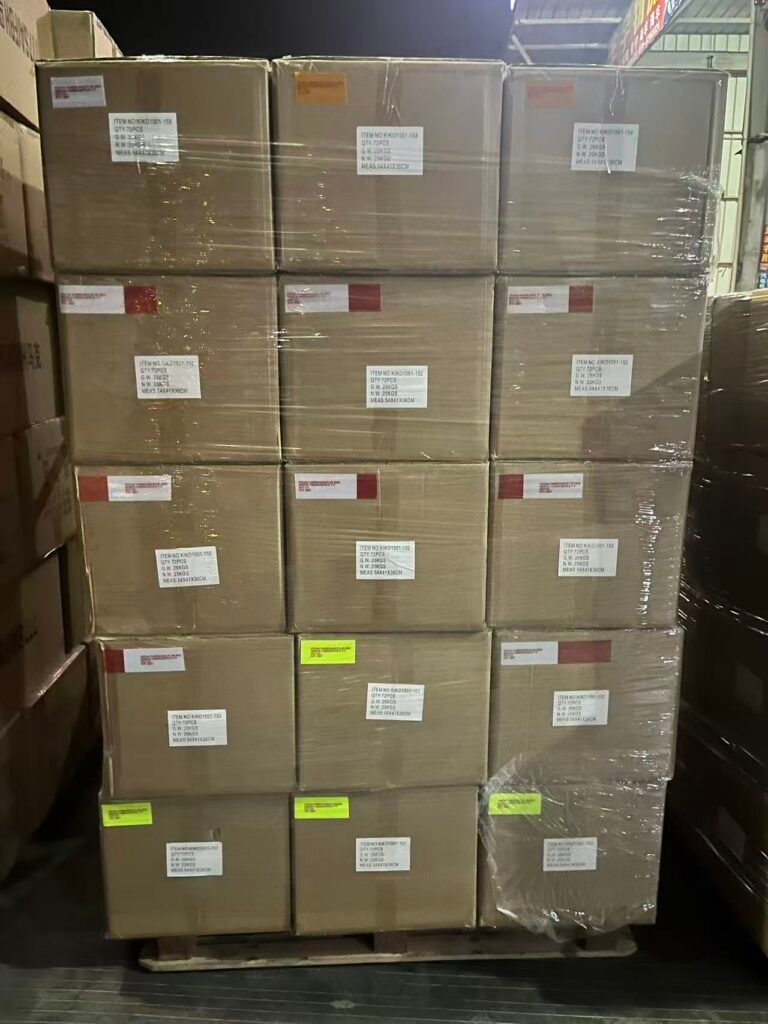
Contact Xingyuan with your required dimensions, color, quantity, application and destination country. We will confirm available options, sample arrangements, packaging and delivery.
Full Strip Layout and Surface Detail
The additional views show the repeated black arrow layout across full strips and a closer view of the reflective background. Use these references to specify the required direction, spacing and finished strip dimensions. Final artwork and cutting should be confirmed for your order.
Application References
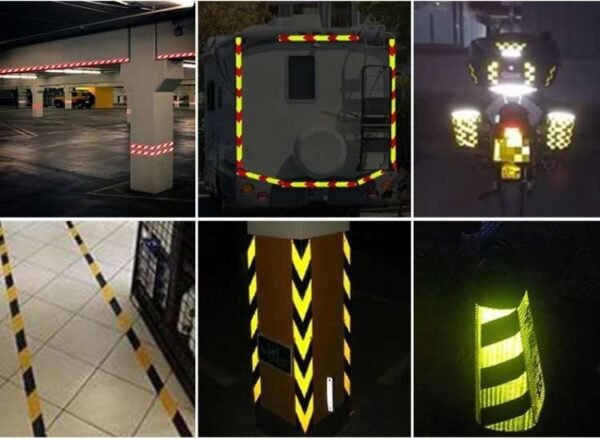
The collage shows ways reflective markings may be placed on vehicles, posts, barriers and equipment. Some examples use different colors or patterns from this product. They illustrate placement ideas only; the selected yellow-green and black arrow design, material and suitability must be confirmed for the intended project.
Choose the Direction and Size
- Arrow direction: identify the direction required when the strip is installed, including any left/right pairs or opposing layouts.
- Strip dimensions: provide the finished width and length, and the number of pieces needed.
- Pattern layout: confirm whether arrows must align across adjoining pieces or repeat at a specified interval.
- Placement: send a drawing or photograph of the surface, with lights, labels, fasteners and moving components identified.
The fluorescent yellow-green background provides a contrasting daytime appearance, while reflection requires incoming light. The product is not self-emitting. Photographs under different lighting are illustrative and do not establish a specific reflective grade or regulatory approval.
Applying the Pressure-Sensitive Strips
Check the selected adhesive against the actual substrate and coating before a full installation. Clean the surface, remove grease and loose contamination, and allow the area to dry. Position the strip with its liner attached first to check alignment and the arrow direction.
Peel the release liner progressively and press the strip evenly without stretching. Inspect the face and edges after application. Follow the temperature, pressure and waiting time confirmed for the selected material, and test a sample where the surface is textured, curved or coated.
Questions Before Ordering
Can the strips be cut to a custom length?
Send the dimensions, arrow layout and quantity so the available cutting format can be confirmed.
Are all pictured applications approved for this material?
No. The collage is a general reference. Confirm the material, placement and any required documentation for your specific application.
What details are needed for a quotation?
Include the strip dimensions, arrow direction, quantity, substrate, intended environment, artwork requirements, packaging and destination.
For projects with specific performance requirements, confirm the material grade, installation conditions and supporting documentation before ordering.